
What a General Contractor Wants You to Know Before You Start Drywall Installation in Seattle.
If you own a home in Seattle and you’re planning a remodel, drywall is going to come up. Whether you’re opening a wall to fix old wiring, redoing a bathroom, or gutting a room down to the studs, someone has to hang new drywall before the project can move forward.
Here’s what most people don’t realize: drywall installation looks simple from the outside. Buy some sheets, screw them to the studs, tape the seams, done. In reality, a lot can go wrong between the first screw and the final painted wall. And when it does go wrong, it usually shows up at the worst possible time — right when the painter is rolling the final coat, or after the new flooring is already down.
This post walks through the full picture. Not just how to hang drywall, but how it connects to every other trade on a remodel job.

A General Contractor Looks at the Whole Project First
When we take on drywall installation as part of a larger remodel, we’re thinking about more than just the drywall. We’re thinking about what comes before it and what comes after it.
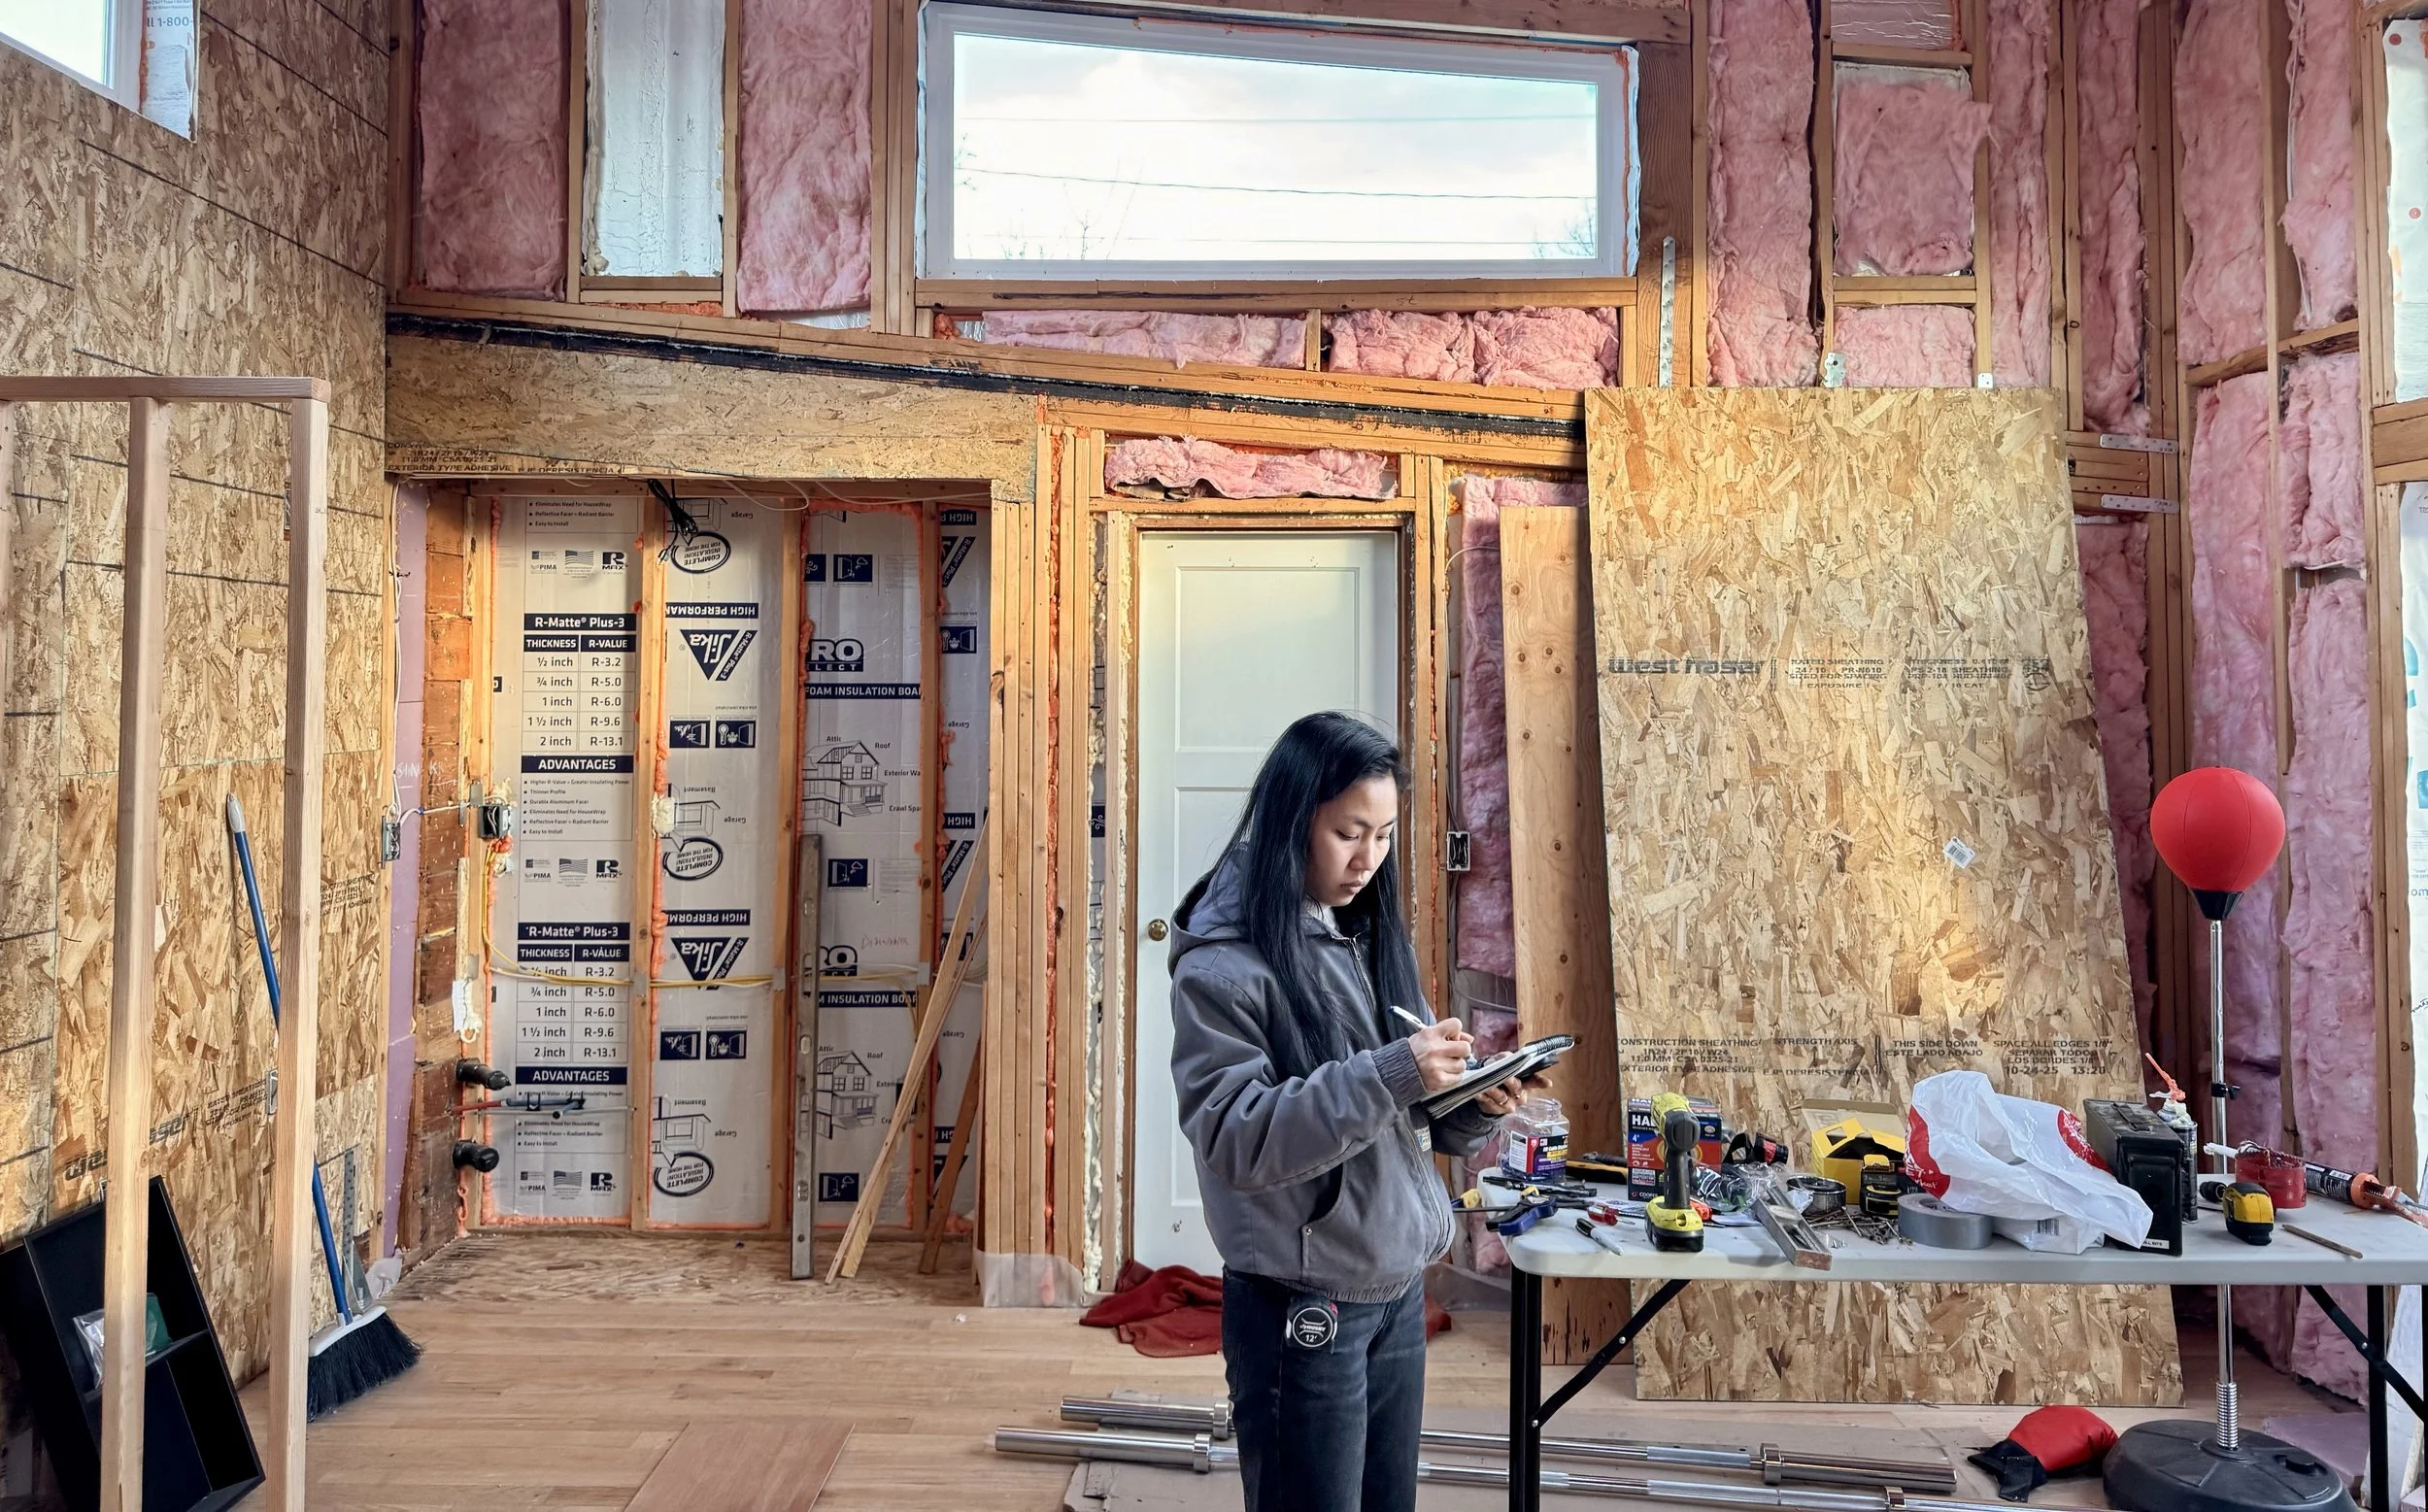
Before drywall can go up, the framing has to be right. If the studs aren’t plumb, the walls won’t be flat. If the blocking isn’t placed correctly, you’ll end up with seams that crack. And if there’s any moisture behind the wall, covering it with new drywall is just kicking the problem down the road.
Seattle has a lot of older housing stock. In neighborhoods like Montlake, the Central District, and Mount Baker, we’re regularly working in homes built in the 1920s, 1930s, and 1940s. The framing in these houses moves over time. Walls settle. Studs bow and twist. Before we ever touch a sheet of drywall, we walk every wall and check it with a long level or a straightedge. If something is out of plumb by more than a quarter inch, we fix it. Sometimes that means shimming the studs. Sometimes it means furring out the wall. Either way, it gets handled before the drywall goes on.
Skipping this step costs money later. A wall with a hump or a low spot doesn’t just look bad — it will show straight through the paint. Glossy and satin finishes are unforgiving. If the wall isn’t flat, light will catch every imperfection.
Hanging, Taping, and Mudding: The Real Work
Once the framing is straight and all the rough work is done — plumbing, electrical, HVAC — drywall goes up.
For most rooms in a residential remodel, we use 5/8-inch drywall. It’s heavier, but it’s more rigid and holds its shape better over time. In bathrooms, laundry rooms, and anywhere moisture is a regular factor, we use cement board or moisture-resistant greenboard. Putting standard drywall in a wet area is a guarantee you’ll be ripping it out again in five years.
Sheets go up horizontally when possible. This cuts down on butt joints, which are the hardest seams to hide cleanly. We fasten every sheet with screws, not nails. Nails back out. Screws don’t.
After the sheets are up, taping and mudding starts. This is where most DIY drywall jobs fall apart. A good finish takes multiple coats of joint compound, sanded smooth between each one. There’s no shortcut here.
In Seattle the Pacific Northwest weather is quite a factor. When working with compound it needs to dry completely between coats before sanding or adding the next layer. From November to March the humidity outside is usually over 80%, which makes the drying time longer. A coat that dries overnight in summer can take two days in the middle of a wet Seattle winter. If you rush it the compound shrinks and cracks when it’s fully dry. Using a dehumidifier and keeping the heat on in the area really helps. We make sure to include that, in our winter job schedule.
Why Your Drywall Finish Level Directly Affects the Paint Job
This is where drywall connects directly to the painting work.
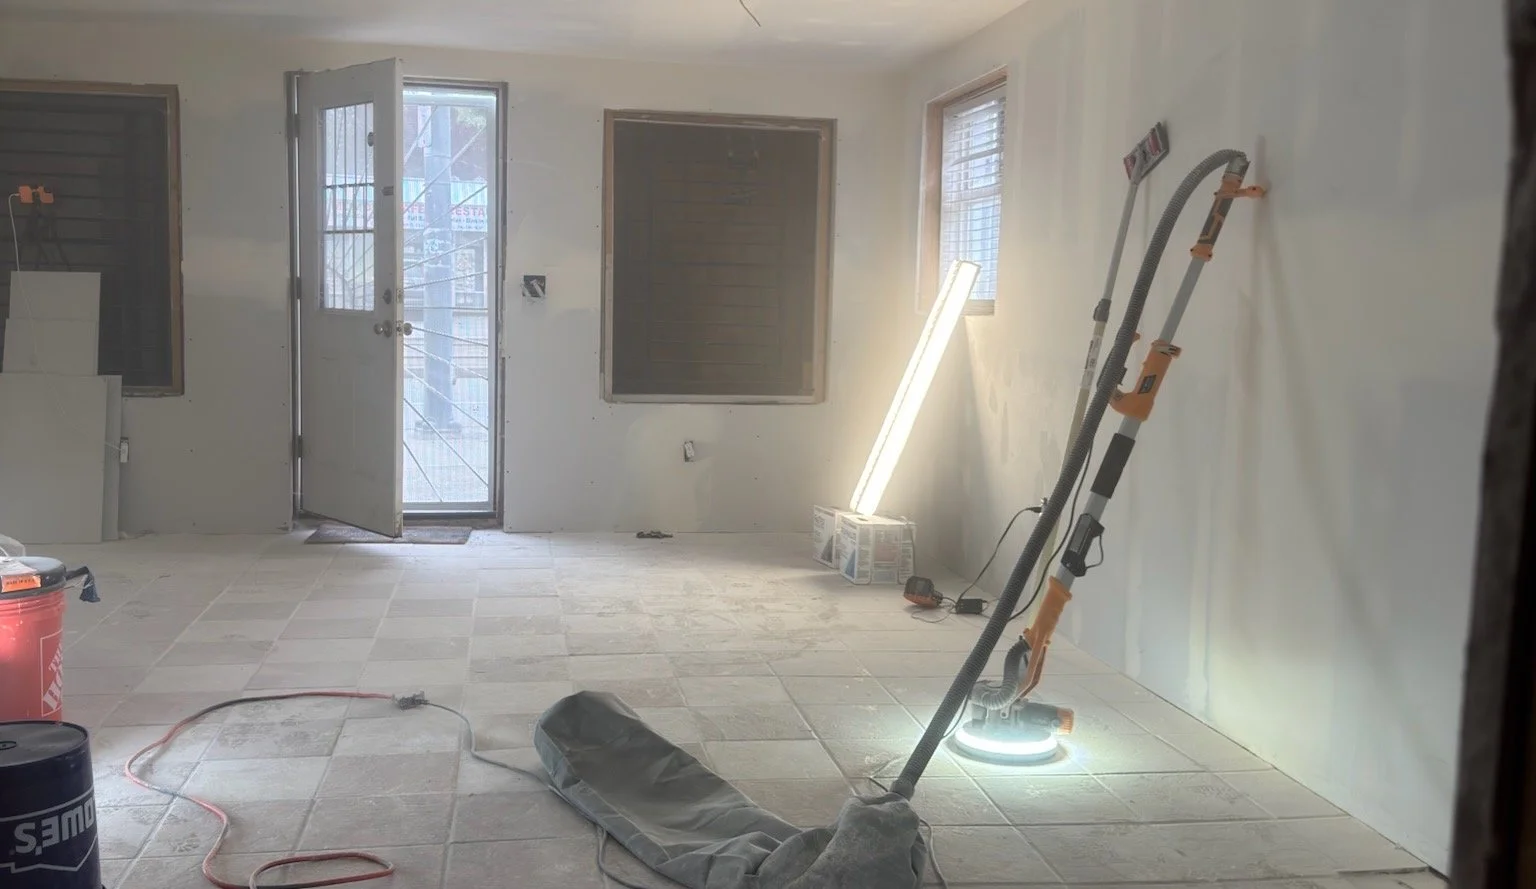
Joint compound gets smoothed and sanded to a “level” — a standard that runs from Level 0 (bare tape, no compound) up to Level 5 (full skim coat over the entire surface). For most residential work, we finish to Level 4. That means three coats of compound, smooth joints, and all fasteners covered and flush.
For flat paint, Level 4 is fine. But if a room is getting eggshell, satin, or anything with a sheen — common in kitchens, hallways, and living rooms — Level 4 might not be enough. Any remaining tool marks or slight texture in the compound will show under that sheen. For those rooms, we go to Level 5, which means applying a thin skim coat over the entire wall surface before the painter ever steps in.
The best way to check your drywall finish before painting is a raking light test. Hold a work light close to the wall and angle it across the surface. Every imperfection casts a shadow. If you see a lot of them, more sanding and touch-up needs to happen before anything gets rolled on.
We’ve seen plenty of beautiful paint jobs get wrecked by a rushed drywall finish. Repainting costs more than skim coating does. Get the wall right first.
Coordinating Drywall with the Flooring Schedule
Drywall and flooring might seem like two separate trades that don’t overlap much. The timing between them matters more than most people realize.
Drywall work generates a massive amount of dust. Joint compound dust is extremely fine — it gets into everything. If new hardwood, luxury vinyl plank, or tile is already on the floor when drywall finishing starts, that dust will work its way into the finish and underneath the material. On hardwood floors, fine compound dust scratched into the surface during installation will dull the finish before the job is even complete.
Our rule is straightforward: drywall goes first. Flooring goes last, or as close to last as possible. Any subfloor that’s already down gets covered with heavy ram board or rosin paper, with edges taped tight.
There’s also a fit issue that doesn’t get talked about enough. Baseboards need to sit flush against straight walls. If the drywall comes off the floor at an angle or has a bow near the bottom, the baseboard won’t sit flat. You’ll see a gap, or the trim carpenter will have to shim it — and it shows. A wall that’s flat all the way down to the floor makes the flooring and trim installation cleaner and faster for everyone on the crew.
What to Look for When Hiring for Drywall Installation in Seattle
Whether your project is in Bellevue, Montlake, the Central District, or anywhere along the southern reach of Lake Washington — Mercer Island, Seward Park, or the neighborhoods around Rainier Avenue — the same questions apply when you’re vetting a contractor.
Ask what finish level they default to and why. Ask how they manage drying times during Pacific Northwest winters. Ask how they coordinate with painters and flooring crews on the same job. If they can’t answer those questions clearly, that tells you something before you sign anything.
Good drywall installation isn’t glamorous work. But it’s the foundation that every other interior finish sits on. Get it right, and everything that comes after goes smoother and costs less to correct.